Show index Hide index
- 5 Genius Techniques for DIY Painted Pumpkins That Look Professional
- Top 5 Easy Painted Pumpkin Designs Anyone Can Try This Fall
- 5 Essential Supplies for Professional-Looking DIY Painted Pumpkins
- How to Choose and Prepare Pumpkins for Painting Excellence This Halloween
- 5 Clever Ways to Display Your Painted Pumpkins for Maximum Seasonal Impact
Halloween painted pumpkins have become a must-have for festive home decor, blending creativity with an effortless charm that anyone can achieve. With the rise of DIY projects, more are turning away from traditional carving to embrace painting techniques that not only add color but also offer a long-lasting, mess-free alternative. These pumpkins can look so professional that guests might marvel at their handiwork—yet they remain budget-friendly and rewarding to make. Unlocking the secret to these captivating designs involves mastering simple tools and paints from trusted brands like DecoArt, FolkArt, and Rust-Oleum. Dive into the world of DIY painted pumpkins and discover how your autumn decorating can transform with just a few supplies and a splash of imagination.
5 Genius Techniques for DIY Painted Pumpkins That Look Professional
Want your pumpkins to stand out this Halloween without hiring a pro? Here’s the secret: combining the right materials with clever techniques will give your Halloween pumpkins a high-end look that’s surprisingly simple to achieve. Before picking up a brush, focus on surface prep and choose the ideal paints.
- 🎨 Prime your pumpkins: Use a matte-sealant primer like Martha Stewart’s recommended primers to create a smooth base that makes the paint pop and adhere without peeling.
- 🖌️ Layer with quality paints: Brands like Crayola and Plaid Crafts offer vibrant acrylics perfect for detailed or bold coverage. Using thin layers ensures a smooth finish and less drying time for multiple colors.
- ✨ Use metallic and glitter accents: Adding a touch of metallic paint by Rust-Oleum creates a glamorous shimmer that captures light beautifully—ideal for sophisticated designs.
- 🎯 Stencil for precision: Templates from Mod Podge or pre-cut decals let you replicate intricate patterns that look ultra-professional without freehand stress.
- 💡 Seal your masterpiece: Finish with a clear protective coat — available from DecoArt — to protect colors against weather and extend your pumpkin’s life outdoors.
These essentials, combined with a dash of creativity, allow crafters step into the spotlight. Follow detailed guides from Parade Home & Garden or Family Handyman to refine techniques further.
Top 5 Easy Painted Pumpkin Designs Anyone Can Try This Fall
Innovative yet simple designs make your pumpkins shine without overwhelming you. Stick to these crowd-pleasers that combine style with effortless execution.
- 🍂 Chalkboard pumpkins: Paint with black chalkboard paint from FolkArt. Once dry, you can write messages or draw spooky images, then erase and redo each week leading up to Halloween. Versatile and interactive!
- 🖤 Monochrome elegance: Keep it sleek using just two contrasting hues like matte white and glossy black. Use Sharpie markers for delicate detailing such as spider webs or elegant stripes.
- 🌟 Glitter dipped: Coat the bottom half with glue and dip into chunky glitter for a dazzling ombre effect. Perfect for adding sparkle to entryways and mantle displays.
- 🖼️ Geometric patterns: Using painter’s tape and stencils from Mod Podge, create triangles, chevrons, or diamonds. Combining bold colors like orange and teal adds depth and personality.
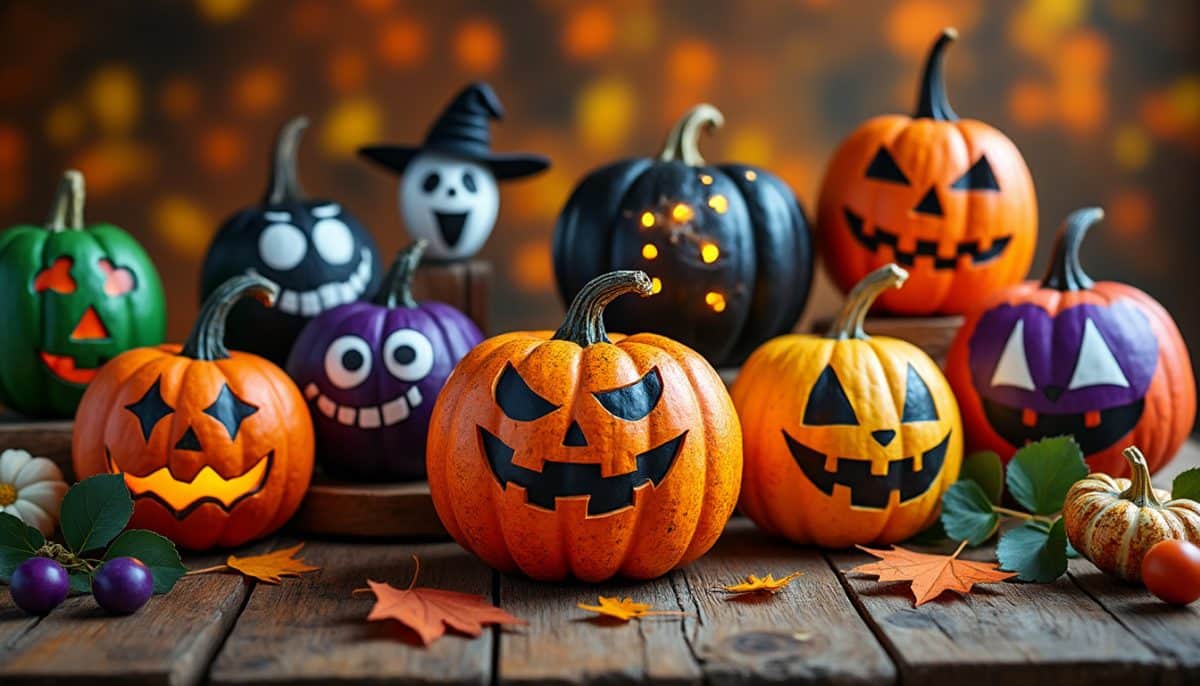
- 🐱 Whimsical characters: Paint simple faces or Halloween icons (ghosts, witches, pumpkins) using vibrant acrylics for kid-approved fun that’s also stylish.
Detailed step-by-step instructions for these designs can be found on HGTV and DIY Thought, where expert advice balances creativity with simplicity. All projects require minimal supplies and usually less than an hour from start to finish, making them perfect for last-minute decorators.
5 Essential Supplies for Professional-Looking DIY Painted Pumpkins
The right tools make all the difference. Assemble these must-have supplies to transform your pumpkin painting experience into a fun and highly rewarding craft session.
To read Christmas Window Painting: DIY Tutorial and Ideas
- 🖌️ High-quality brushes: Invest in synthetic brush sets that include fine tips and broad blends. Good brushes ensure clean lines and smooth application.
- 🎨 Premium acrylic paints: Pick colors from trusted supplies like DecoArt or FolkArt. Their formulas provide vibrant color and durability for indoor or outdoor display.
- 🏷️ Painter’s tape and stencils: Create crisp edges and repeatable designs without frustration. Look for reusable options often sold at Michaels.
- 🌟 Sealant spray: Choose a matte or glossy finish sealant like those from Rust-Oleum to preserve your artwork from fading or chipping in colder weather.
- 🖊️ Fine-point markers: Sharpie permanent markers are great for intricate doodles, lettering, and touch-ups, especially when precision is key.
Shopping at craft stores like Michaels or checking online resources such as Susie Harris’ blog will help you gather quality materials, often with seasonal discounts. Plus, many brands offer starter kits ideal for beginners wanting all essentials without overspending.
How to Choose and Prepare Pumpkins for Painting Excellence This Halloween
Choosing the right pumpkin is more important than many realize. The texture and shape will influence your paint’s final look and longevity.
- 🍁 Select smooth, firm pumpkins: Avoid overly bumpy or soft pumpkins, which can absorb paint unevenly and complicate your work.
- 📏 Consider size & shape diversity: Use a mix of medium and small pumpkins to create dynamic displays. Taller, elongated pumpkins offer great canvases for vertical patterns.
- 🧽 Clean and dry well: Wash your pumpkins with a damp cloth to remove dirt and debris. Some crafters lightly sand the surface with fine-grit sandpaper for extra smoothness.
- 🛑 Apply a primer coat: A quick coat of white or clear primer evens out the imperfections, improves paint grip, and enhances color vibrancy. This is a trick nobody knows but makes a huge difference.
- ⏳ Allow sufficient drying time: Each painting stage should dry fully to avoid smudging. Professional results need patience.
These prep steps are backed by experts, including tips shared by Country Living. They guarantee your pumpkins become durable canvases for your genius Halloween artwork.
5 Clever Ways to Display Your Painted Pumpkins for Maximum Seasonal Impact
Displaying your painted pumpkins creatively can elevate your autumn decor and impress visitors beyond traditional pumpkin arrangements.
- 🏆 Create themed groupings: Cluster pumpkins by color scheme or design type on your porch or mantel to amplify impact.
- 🎡 Incorporate natural elements: Use fall leaves, pinecones, and branches as accents to add texture and tie your display to the outdoor environment.
- 🌙 Light with string fairy lights: Wrapping soft, warm LED lights around your pumpkins showcases designs beautifully during evening gatherings.
- 🎨 Use elevated platforms: Display pumpkins on crates, stacked wood, or decorative trays to introduce height variations and avoid flat layouts.
- 📷 Design your own photo corner: Arrange pumpkins alongside themed props like vintage lanterns or spooky figurines for a look that guests will want to snap and share.
For more inspirational ideas, check out the visually stunning photo guides on Mod Podge Rocks and Better Homes & Gardens. These arrangements turn simple DIY projects into show-stopping seasonal statements.