Show index Hide index
- Floor-to-Ceiling Bookshelves: Maximize Vertical Space Elegantly
- Cubby Shelves: Simple Build That Organizes Offices and Crafts
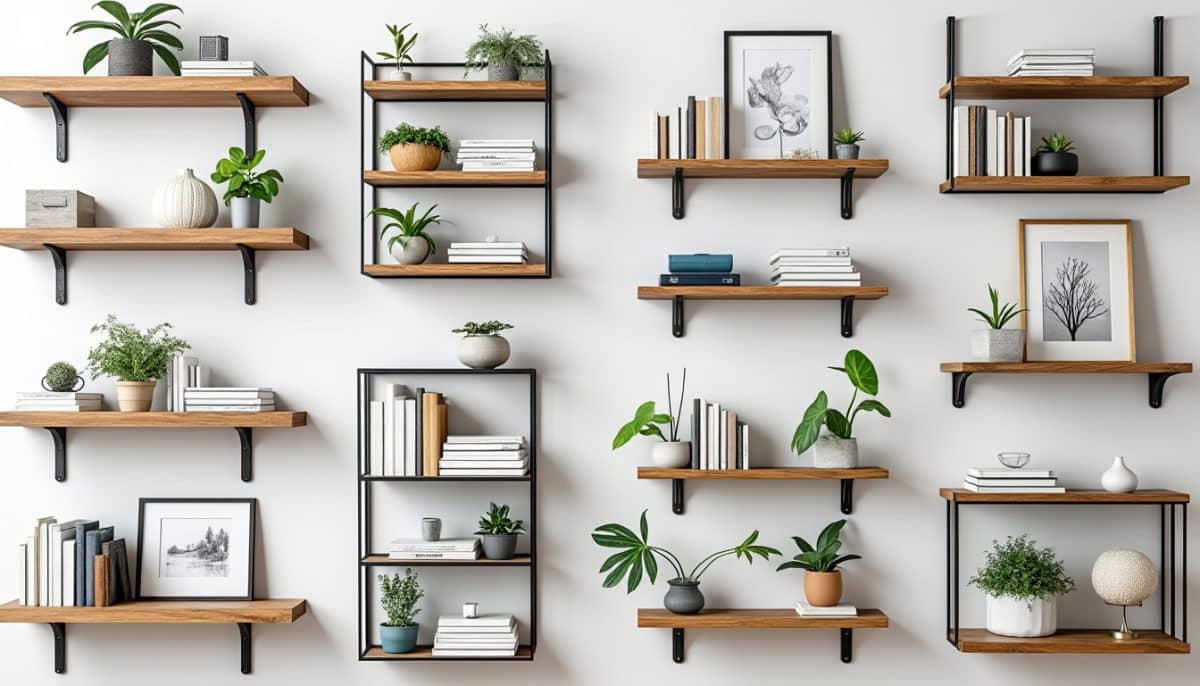
- Picture Ledges: Budget-Friendly Floating Shelves for Display
- Garage Shelves: Heavy-Duty Storage for Tools and Gear
- Recessed Shelves: Space-Saving Built-Ins Using Upcycled Furniture
Your garage and home are likely bursting at the seams with stuff you don’t know how or where to organize. 🛠️ From overflowing closets to cluttered pantries, finding efficient, budget-friendly storage solutions can feel daunting. But building your own storage shelves doesn’t have to be overwhelming — it’s a chance to combine creativity with practicality. Whether you have a weekend to spare or just a couple of hours, these 9 simple DIY storage shelves that look professional are designed with homeowners and DIY beginners in mind. Using basic materials and tools like a drill and level, you can transform any space, whether it’s a cramped kitchen corner, garage nook, or laundry area, by creating stylish shelves that offer both durability and easy access. Many projects cost under $100 and adapt seamlessly to various spaces — perfect for anyone seeking clever storage without draining the budget. Plus, you can find step-by-step plans and inspiration on trusted sites such as Kreg Tool’s project plans or creative tutorials on DIYnCrafty. Get ready to reclaim your space with shelves that look like they came from a boutique store but built by you!
Floor-to-Ceiling Bookshelves: Maximize Vertical Space Elegantly
Why it works: Utilizing full wall height opens up massive storage potential, perfect for books, decor, or bulk storage. These shelves create a striking focal point while keeping chaos at bay. 💡
Time: Build time ranges from 1 to 4 weeks depending on complexity.
Cost: Approximately $500, but savings come with recycled materials.
Skill: Intermediate — requires some woodworking skills and tools like a table saw, drill, and level. Projects on JustMeasuringUp offer comprehensive plans.
- High-quality birch plywood or leftover materials
- Construction adhesive, screws, finishing nails
- Basic hand tools plus power saw and drill
Start by planning your layout, then carefully cut and assemble shelves with support beams. Safety tip: secure shelves to wall studs to hold heavy items safely. These shelves can support over 100 lbs per tier.
To read Christmas Window Painting: DIY Tutorial and Ideas
To reduce costs, consider salvaging materials or browsing sales at stores like IKEA or The Container Store for hardware savings. Adapting size for your wall width and ceiling height personalizes storage perfectly.
Cubby Shelves: Simple Build That Organizes Offices and Crafts
Why it works: Cubby shelving compartmentalizes clutter, ideal for office supplies, kids’ toys, or craft rooms. The routed dado design offers a polished finish that rivals store-bought units. 🎨
Time: Total of 10–14 hours over a weekend.
Cost: Under $100 using pine boards and construction adhesive.
Skill: Beginner to intermediate. Pocket hole screws or routed dados for assembly.
- Pine boards or MDF sheets
- Wood glue, finishing nails, basic screws
- Drill, router or pocket hole jig, level
Lay out your grid, cut shelves to size, and assemble cubbies with adhesive for strong joints. Seal with milk or enamel paint depending on finish preference. Weight capacity: holds up to 50 lbs per compartment.
This project is a brilliant entry point into DIY, with plenty of free plans available, including on DIYnCrafty. For variants, add decorative knobs or install baskets for concealed storage.
To read Thanksgiving Centerpieces: DIY Ideas for Your Table
Picture Ledges: Budget-Friendly Floating Shelves for Display
Why it works: These versatile ledges are affordable and quick to build, great for photos, books, or kitchen spices. They blend form and function effortlessly, fitting any room style. 🖼️
Time: 2–3 hours for a single ledge.
Cost: Under $20 using scrap plywood and paint.
Skill: Beginner. Uses simple tools like a clamp, wood glue, and finishing nails.
- Plywood planks cut to length
- Wood glue, clamps, finishing nails, paint
- Basic hand drill and level
Glue and fasten a trim piece to the baseboard to create an angled shelf lip. After a light sanding, finish with paint or stain matching your decor. Weight capacity is light—ideal for smaller, decorative items.
Convert them to functional kitchen floating shelves or elegant bathroom organizers, using brands like Rubbermaid storage bins for tidy containment. Explore more designs on Toolsweek.
Garage Shelves: Heavy-Duty Storage for Tools and Gear
Why it works: Custom garage shelves offer durable, accessible storage that turns neglected corners into utility hubs. Perfect for tool organization, seasonal gear, or bulky items. 🔧
To read Christmas Cards: 15 DIY Ideas That Impress
Time: 8–10 hours, completed in one weekend.
Cost: Usually under $200 depending on size.
Skill: Intermediate. Requires drill, saw, level, and basic woodworking skills.
- 3-ft deep plywood or OSB boards
- 2×4 lumber for framing, screws, wood glue
- Drill, level, measuring tape, saw
Build sturdy frames attached directly to wall studs, adding sliding shelves for easy access. Weight capacity easily supports over 100 lbs per shelf. Stores brand supplies neatly with a touch of ClosetMaid style organization.
Speed up your project using plans from Garage Storage DIY Projects. Add pull-out shelves to maximize convenience.
Recessed Shelves: Space-Saving Built-Ins Using Upcycled Furniture
Why it works: Carving out wall recesses for shelving eliminates protrusions, sleekly storing spices, books, or collectibles. It’s a sustainable approach repurposing old furniture pieces like CD shelves or cabinets. ♻️
Time: 3–5 hours.
To read Christmas Door: Entry Makeover Ideas for Maximum Impact
Cost: Virtually free if using leftover materials.
Skill: Beginner to intermediate, scissors, screwdriver, basic carpentry tools.
- Old wooden shelves or cabinets
- Trim wood, pocket hole screws
- Basic drill, screwdriver, level
Measure and mark a hollow wall section, cut drywall carefully, and fit the shelf snugly. Secure with trim and screws for a polished built-in look that holds light pantry or decorative items well. A perfect project for reclaimed materials enthusiasts and budget-conscious DIYers alike.
See inspiring built-in ideas and tutorials on Designer Trapped or Funky Junk Interiors.