Show index Hide index
- 5 Simple DIY Garage Storage Ideas Under $200
- Budget-Friendly Garage Storage Walls
- 4 Quick Ceiling Storage Solutions That Double Your Garage Space
- Easy Overhead Garage Racks
- 3 Easy-Peasy Workbench Builds for Your Garage Workshop
- Simple Garage Workbench Project
- 6 Easy Garage Lighting Upgrades for Under $100
- Budget LED Garage Lighting Installation
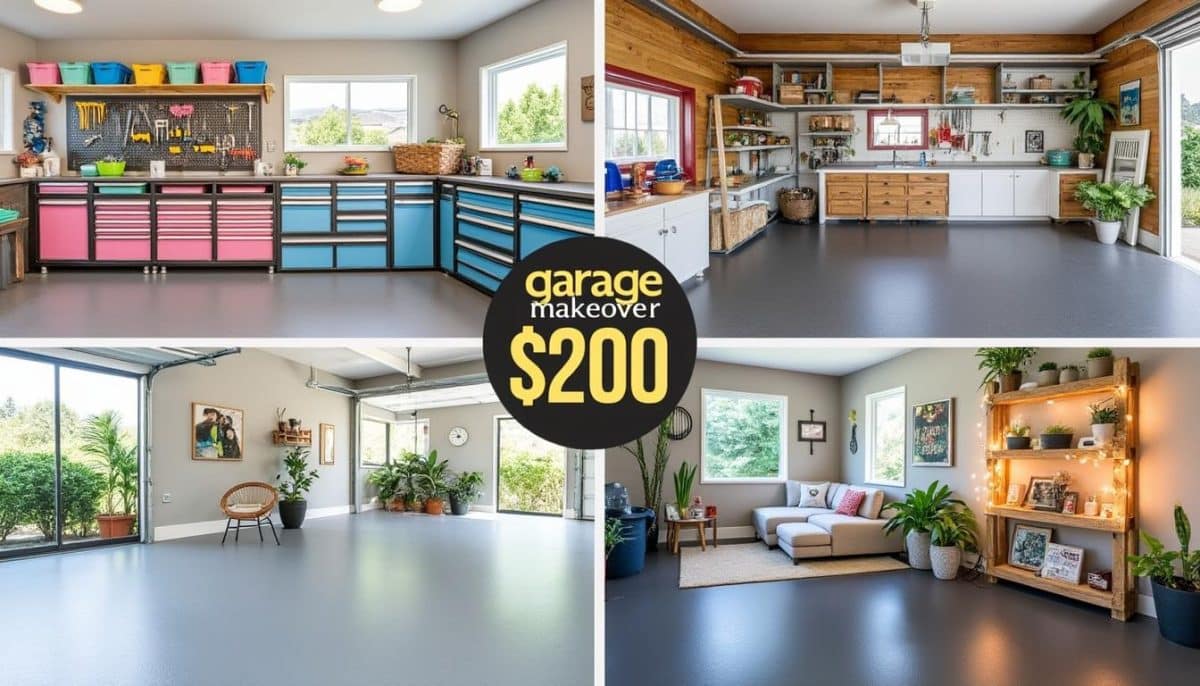
Your garage is often a catchall for clutter, tools, and storage, making it tough to find space for your cars, let alone work on projects. But fear not—transforming that chaotic zone into an organized, functional area is more achievable than you think, especially with budget-friendly DIY projects. Spending less than $200, you can create clever storage solutions using well-known brands like Rubbermaid and Gladiator, upgrade lighting with Hyper Tough fixtures, or refresh your floors with simple materials that don’t sacrifice style or durability. Whether you have a compact single-car garage or a larger two-car space, smart planning paired with accessible tools like a drill and level can turn your garage into a clean, efficient space. Ready to get started? These easy weekend projects are designed specifically for homeowners and DIY beginners aiming for instant results—pin and save these genius ideas to revolutionize your garage this weekend! 🔧✨
5 Simple DIY Garage Storage Ideas Under $200
Garage clutter can seriously cramp your style, but tackling it with easy, affordable storage projects can make a massive difference. Installing wall systems like Wall Control or Gorilla Rack pegboards lets you hang tools and garden equipment neatly off the floor. This approach not only frees up space but also makes your most-used items instantly accessible. Preparing and building these solutions often takes less than a day, perfect for a productive weekend project. Plus, using sturdy materials means your storage can hold heavy weight without sagging. Grab your drill and basic hardware sets, and you’ll have a robust storage wall ready in under 6 hours.
Budget-Friendly Garage Storage Walls
Why it works: Maximizes vertical space, keeping floors clear for vehicles and gear. Time: Prep 1 hour | Build 4 hours | Total 5 hours. Cost: Under $150 | Skill: Beginner.
- Materials: Plywood boards or prefabricated pegboards from Wall Control, brackets from Gorilla Rack, and heavy-duty hooks.
- Basic tools: Drill, level, screwdriver, measuring tape.
Quick Steps:
- Measure and plan your wall layout to fit your garage size accurately.
- Secure pegboards using sturdy brackets positioned evenly to support tools.
- Arrange hooks and shelves to store items by category for quick access.
- Safety tip: ensure all mounting hardware anchors into studs for maximum load capacity (up to 100 lbs per square foot).
Make It Work: Adjust size to any garage wall, split installations across multiple weekends if needed, or upgrade with rolling tool chests from Craftsman for a premium touch.
4 Quick Ceiling Storage Solutions That Double Your Garage Space
Ceiling surfaces often go unused, but installing overhead racks from brands like Husky or Edsal can dramatically expand your storage footprint. These racks are ideal for holding seasonal gear, bicycles, or bulky storage bins made by Sterilite. The assembly requires basic tools and about two hours — perfect for a Sunday afternoon project that keeps your floors clutter-free and your items safely stored overhead.
To read Christmas Pattern: Seamless Designs for DIY Projects
Easy Overhead Garage Racks
Why it works: Uses often-overlooked vertical space, clearing the floor for cars and activities. Time: Prep 30 min | Build 1.5 hours | Total 2 hours. Cost: Under $180 | Skill: Beginner.
- Materials: Metal rack kit from Husky or Edsal, anchor bolts, and Sterilite storage bins.
- Tools required: Drill, stud finder, wrench, level.
Quick Steps:
- Locate ceiling joists using a stud finder to ensure strong attachment points.
- Assemble and securely fasten the rack to ceiling joists with anchor bolts.
- Place sturdy storage bins on the racks, labeling for easy identification.
- Confirm load capacity (some models support up to 600 lbs) and do not exceed weight limits.
Make It Work: Scalable for smaller spaces by choosing narrower racks, or bolster with complementary Gladiator wall mount storage systems for tool accessibility.
3 Easy-Peasy Workbench Builds for Your Garage Workshop
Adding a practical and budget-friendly workbench is a game-changer for any DIY enthusiast or family. Constructing a sturdy bench from affordable pine boards and supported by Keter or Craftsman storage drawers underneath can create a vibrant, functional workshop without breaking the bank. This project is beginner-friendly and can be fully completed within a weekend, enabling you to start projects sooner and tuck tools neatly away.
Simple Garage Workbench Project
Why it works: Offers a dedicated project area with built-in storage for tools and supplies. Time: Prep 1 hour | Build 6 hours | Total 7 hours. Cost: Under $200 | Skill: Beginner to Intermediate.
- Materials: Pine boards, screws, Keter storage drawers or Craftsman toolboxes.
- Tools needed: Drill, saw (hand or power), screwdriver, level.
Quick Steps:
- Measure your garage space and design workbench size accordingly.
- Cut pine boards to length, assemble the frame and tabletop with screws.
- Install storage drawers beneath for organized access to tools.
- Safety tip: double-check levelness for a stable workspace; weight capacity varies but typically supports 200+ lbs.
Make It Work: Customize height for comfort, add rubber mats on the floor for anti-fatigue benefits, and combine with Wall Control pegboards for tool hanging.
To read Christmas Crafts DIY: Handmade Projects Tutorial
6 Easy Garage Lighting Upgrades for Under $100
Bright, clear lighting makes all the difference in using your garage effectively. Upgrading to modern Hyper Tough LED fixtures or motion-activated bulbs can transform dull, shadowy spaces into well-lit workshops or garages that welcome both cars and hobbies. These quick installs require simple wiring changes and minimal tools, making it an ideal weekend upgrade that yields instant benefits in visibility and energy savings.
Budget LED Garage Lighting Installation
Why it works: Enhances visibility and safety while cutting energy costs with long-lasting LEDs. Time: Prep 30 min | Install 1 hour | Total 1.5 hours. Cost: Under $100 | Skill: Beginner.
- Materials: Hyper Tough LED bulbs or fixtures, motion-sensor switches (optional).
- Tools: Screwdriver, voltage tester, ladder.
Quick Steps:
- Turn off power before installation for safety.
- Remove outdated bulbs or fixtures, replace with LED units.
- For motion sensors, wire per instructions and test functionality.
- Check adequate coverage and replace bulbs promptly when dimming occurs.
Make It Work: Mix ambient lighting with focused task lamps near workstations for the perfect setup; opt for dimmers if supported to customize brightness.
These creative and budget-smart garage makeover ideas combine accessible materials and popular storage brands like Rubbermaid, Gladiator, Husky, Wall Control, Sterilite, Gorilla Rack, Keter, Edsal, Hyper Tough, and Craftsman. Whether creating extra storage, improving lighting, or building a workspace, these projects bring instant transformation to your garage — all on a budget and with manageable DIY skills. For more inspiration, check out this useful YouTube guide and 20 Garage Workshop Ideas Under $200. Also explore garage organization ideas and DIY shelving projects for even more tips.
Pin these projects now to fuel your weekend garage makeover, and start turning your cluttered space into a streamlined, enjoyable place for cars, crafts, and more! 💡🛠️