Show index Hide index
- Step 1: Establishing Your Gluten-Free Starter with the Right Ingredients
- Feeding Schedule to Develop Wild Yeast Activity
- Week 2: Maintaining and Troubleshooting Your Gluten-Free Sourdough Starter
- Using Kefir to Accelerate Fermentation
- Preserving Your Gluten-Free Sourdough Starter for Long-Term Use
- Trustworthy Gluten-Free Flour Brands to Try
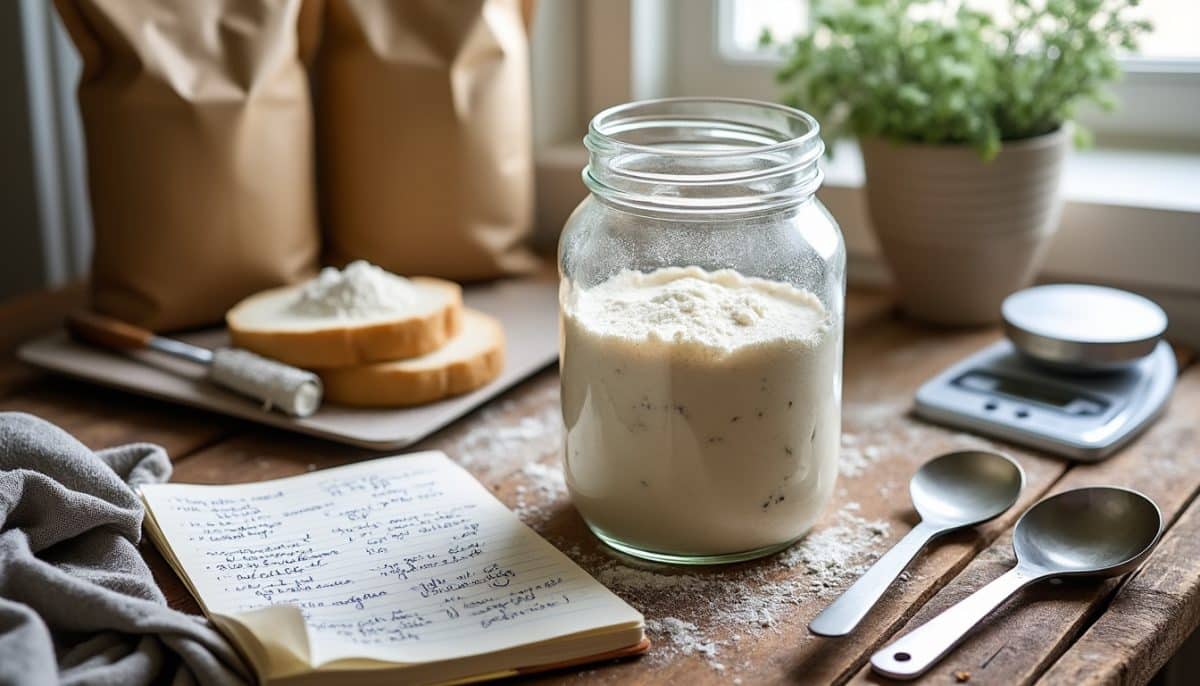
Creating a gluten-free sourdough starter can feel like a daunting journey, especially with so many varying instructions out there. Yet, developing your own starter unlocks the secret to naturally fermented, delicious sourdough without gluten. This week-by-week guide breaks down the essentials for nurturing a bubbly, flavorful gluten-free sourdough starter from scratch, no confusion involved.
Step 1: Establishing Your Gluten-Free Starter with the Right Ingredients
Starting off on the right foot means choosing a reliable gluten-free flour and filtered water. Flours like organic brown rice, sorghum, millet, or blends from trusted brands such as King Arthur Baking and Gluten Free With Love provide excellent bases.
Mix one cup of gluten-free flour (about 164 grams) with ¾ cup plus 2 tablespoons (190 grams) of cool filtered water. Stir until the consistency resembles thick pancake batter, adjusting by a tablespoon of water or flour as needed. Place this mixture in a glass container with a loose lid to allow air exchange, then set it at room temperature.
Feeding Schedule to Develop Wild Yeast Activity
Feed your starter daily to encourage fermentation and yeast growth. Each day, discard half of the starter to manage volume and refresh it by adding ½ cup (82 grams) of fresh gluten-free flour and ¼ cup plus 3 tablespoons (95 grams) of filtered water. Stir well, cover loosely, and wait 24 hours before repeating.
Within the first few days, minor bubbles and a tangy, sweet aroma indicate progress. By day 5 or 6, expect the starter to rise, revealing larger bubbles that signify active fermentation. Perseverance here is key; environmental factors determine timing.
Week 2: Maintaining and Troubleshooting Your Gluten-Free Sourdough Starter
As your starter matures into the second week, consistency is crucial for robust growth. Maintain daily feedings and monitor consistency—to keep it like thick pancake batter—adjust flour and water accordingly. For flour, Bob’s Red Mill and cup4cup blends are popular choices, offering rich textures reminiscent of traditional starters.
To read Christmas Baking: Essential Tools and Recipes
If your starter separates with a watery layer on top, simply stir it back in before feeding. Mold can occur if the starter is neglected; remove the mold, rescue a teaspoon of the good starter from the bottom, and transfer to a clean jar before feeding again. If mold returns rapidly, start fresh with a new culture from a fellow baker or trusted source.
Using Kefir to Accelerate Fermentation
An insider tip involves adding a small amount of milk kefir to jumpstart your starter. Kefir’s diverse bacterial strains enrich gluten-free starters, boosting activity and shortening wait times. Start by substituting some water in the feeding process with kefir during the first 1-2 feedings, then revert to water for maintenance.
Preserving Your Gluten-Free Sourdough Starter for Long-Term Use
For those times when baking pauses, store your fed starter in the fridge with a tightly sealed lid. It can survive weeks neglected—though pouring off any liquid that accumulates before refreshing with fresh flour and water is essential to revive its strength.
Before baking, feed the starter as usual and allow it to reach peak bubbly activity. At this point, take the needed quantity directly for your recipe; stirring just before usage maximizes yeast dispersion.
Trustworthy Gluten-Free Flour Brands to Try
- Bob’s Red Mill – Known for versatile gluten-free flours suited for starters
- Schar – Popular for baking mixes and flours
- Simple Kneads – Ideal for sourdough blends
- GFJules – Specializes in artisan gluten-free flours
- Pamela’s Products – Reliable gluten-free baking essentials
For recipes and inspiration, discover delightful creations on platforms like Mama Knows Gluten Free and Wonders of Cooking. Looking to plan seasonal baking ideas? Explore fall luncheon food ideas for cozy gluten-free treats perfect as the cooler months approach.