Show index Hide index
- Step-by-Step Henna Design Patterns for Beginners to Master Now
- Alternative Henna Designs and Customizations for Different Styles
- Troubleshooting Common Henna Design Mistakes and Tips to Fix Them
- The Cultural Significance and Modern Popularity of Henna in 2025
- Hands-On Tips: Caring for Your Henna Design to Maximize Its Lifespan
- Frequently Asked Questions
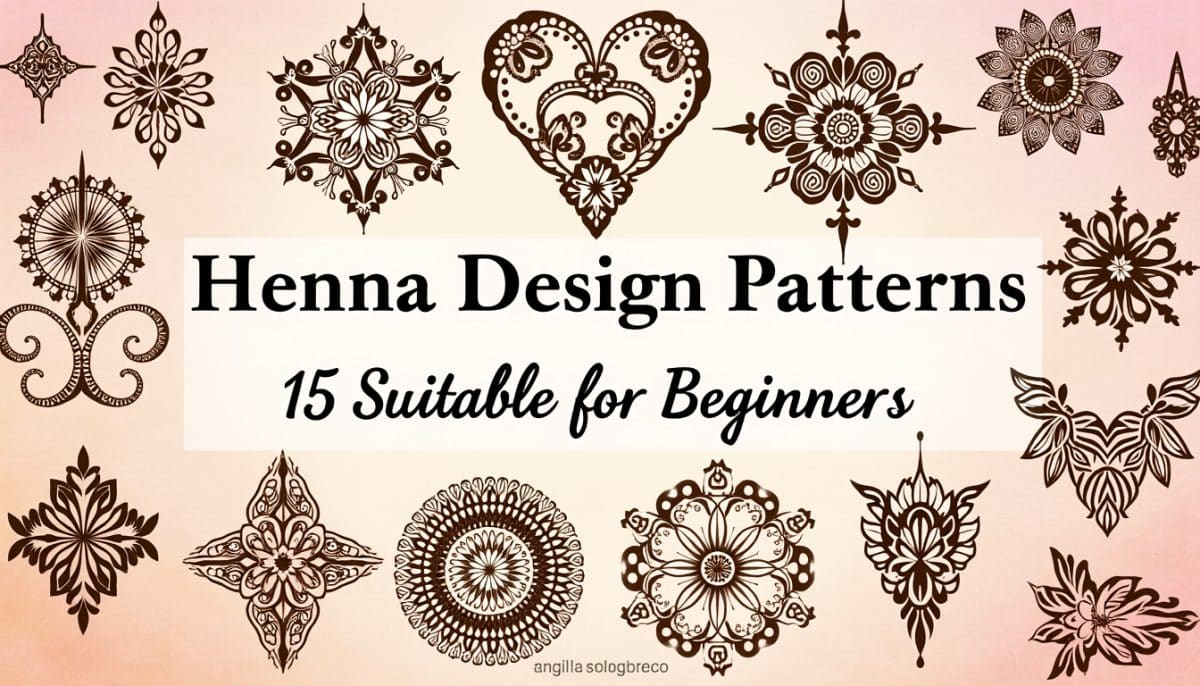
Dreaming of crafting stunning henna designs that turn heads? In just minutes, you can learn 15 beginner-friendly henna patterns that will elevate your creativity and inject a splash of color into your style. Whether you’re preparing for a special event, experimenting with body art, or simply wanting to try a fun new hobby, this guide unlocks simple, actionable techniques that make henna art accessible. Expect to grasp foundational strokes, flower and vine motifs, and easy geometric shapes that build confidence from your very first attempt. Harnessing natural ingredients like Kaveri Henna or artisan blends such as Earth Henna and Sowmiya Henna, you’ll be able to bring professional flair to your hands and feet effortlessly.
Begin by mastering the essential patterns: clean lines, delicate dots, and balanced spirals. Sharp control over your henna cone ensures smooth application — not just guesswork but a practiced art enhanced by consistent pressure and flow. Start drawing these basic components directly onto your skin or practice sheets, and you’ll soon see how they assemble into beautiful bouquets, intricate mandalas, or elegant bracelets. Most importantly, these easy steps build a bridge to more elaborate motifs without overwhelming you with complexity.
This works because henna paste stains skin naturally, bonding with keratin to produce rich, lasting colors. Experts also agree that simpler designs allow beginners to develop steadier hands and better cone control, which improves results significantly. Recent trends emphasize minimalistic, customizable patterns perfect for personal expression, with many artists sharing their creations on platforms like Pinterest. Whether you explore classic Golecha Henna or modern innovations like Jagua Henna, getting these designs under your belt sets you on the path to stunning, wearable art that turns every glance into admiration.
Step-by-Step Henna Design Patterns for Beginners to Master Now
The quickest way to see real results with henna art is to start with building blocks—dots, lines, circles, and spirals. Begin by practicing each shape separately to get a sense of the henna cone’s flow. Start with dots: apply gentle pressure to achieve small clean points—think about creating tiny pearls scattered with purpose. Then move on to straight and curved lines, holding the cone with steady pressure to avoid blobs or gaps.
Once you master these strokes, combine them into small motifs like simple flowers and leafy vines. For example, draw a small circle in the center as the flower base, then add five to six leaf-shaped petals around it using thin curved lines. Use dots along the vines to simulate tiny buds, giving your pattern life and texture. This layering effect turns basic shapes into delicate compositions. Try drawing a spiral, then surround it with dots or short lines to mimic a blooming mandala.
Pro tip: Keep a damp cloth nearby to correct small mistakes quickly before the paste dries. Practice your pressure on paper until your lines flow evenly without breaks. This practice is crucial, as smooth application dramatically improves stain quality once the paste develops. To experience the best in quality henna powder, consider trusted products such as Minal Beauty Henna that ensure consistent paste texture.
To read 6 Halloween Window Boxes That Light Up
Finally, test your freshly crafted patterns on your wrist or fingers. Aim to complete a small design within 15-30 minutes, optimizing drying and staining time. This duration can be extended by applying lemon-sugar sealant, a popular method used by henna artists to deepen pigment color and longevity.
Alternative Henna Designs and Customizations for Different Styles
Henna art doesn’t have to be one-size-fits-all. Once you’ve nailed basic forms, explore variations that suit different moods, occasions, or skill levels. For quick projects, minimalist designs like delicate dots trails across fingers are eye-catching yet effortless. On the other hand, if you want richness without complexity, create borders by linking small spirals and leaf shapes around the wrist or ankle.
For those with more confidence, integrating geometric patterns like triangles and diamonds adds modern flair without overwhelming complexity. For example, you could draw a line of alternating tiny diamonds connected by dots, framed by curved lines to soften angles. This pattern suits festive occasions or even casual days when you want subtle elegance.
Customization extends to the choice of henna brands too. Those favoring organic and natural blends often reach for Mihenna or Henna City for their quality, while enthusiasts debating temporary lasting power might mix in Inkbox products simulating jagua’s unique blue-black tone. For budget-conscious beginners, The Henna Guys offer affordable cones without sacrificing quality, making regular practice easier.
Seasonal themes also influence design choices in 2025. Floral spring motifs with tiny blossoms and trailing vines reflect renewal, while autumnal patterns focus on bold leaf shapes and dynamic spirals. Experimenting keeps your henna artwork fresh and engaging year-round.
See detailed walkthroughs for beginner henna creations that help break down each movement for smoother confidence.
Troubleshooting Common Henna Design Mistakes and Tips to Fix Them
Messy henna lines, uneven stains, or blotchy patterns can discourage beginners but following a few simple fixes can turn things around instantly. If your henna paste blobs out too thickly, control your squeezing pressure gently and avoid touching the cone tip directly to the skin. Too much paste leads to prolonged drying time and uneven stain results.
To read 4 Halloween Window Ideas for Small Spaces
Clogged tips are another frequent snag. Don’t rip the hole bigger; instead, use a fine pin to carefully clear the debris. Regularly warm your henna cone in your hands or near a lukewarm source to keep the paste flowing smoothly. If the paste feels runny, store cones in a cool spot or look for brands like Kaveri Henna that offer consistent texture ready for use.
When your design smudges, it’s often due to early contact. Allow the paste to dry naturally, keep your hands still, and use a lemon-sugar sealant to foster tougher paste adherence. Avoid washing the design for at least 6 hours post-removal, and use natural oils such as coconut or olive oil to prolong color intensity and protect the skin.
Remember, patience is key. Mistakes mean growth. Practicing small areas before attempting intricate patterns helps build steady hands and reduces errors. Keeping your workspace clean and organized also minimizes accidental smears.
Learn more troubleshooting advice and design tips on trusted sites like Duitdesign and StayGlam.
This video covers common henna application pitfalls and quick solutions to maintain smooth designs.
The Cultural Significance and Modern Popularity of Henna in 2025
Henna art has traveled through centuries, weaving tales from ancient traditions into contemporary self-expression. Mostly popular in South Asia, Middle Eastern, and North African cultures, henna symbolizes joy, celebration, and protection. Its natural, temporary nature makes it perfect for expressing identity without permanence—a trend that’s gaining momentum as people increasingly seek sustainable beauty options in 2025.
Globally, brands like Minal Beauty Henna and Golecha Henna help preserve traditional formulas while innovating for freshness and health safety. Meanwhile, organic and vegan-conscious users prefer eco-friendly options like Sowmiya Henna or handcrafted blends available through Henna City. This fusion of heritage and conscious care resonates with today’s mindful living advocates.
To read 13 Drawing Ideas to Beat Creative Block
Social media platforms, especially Pinterest and Instagram, are bursting with henna inspiration, inspiring widespread DIY artistry. Creators showcase everything from minimalistic wrist designs to full bridal covers, fostering a vast community of learners and aficionados. Discover new motifs or share your journey using hashtags like #HennaCity and #Mihenna to connect with enthusiasts worldwide.
Interestingly, the resurgence of henna as a preferred temporary tattoo reflects broader shifts towards natural body art alternatives in 2025, alongside rising curiosity about innovations such as jagua—an exotic leaf-based dye producing a striking blue-black hue. This crossover broadens the scope of temporary body expression, blending cultures and artistic traditions seamlessly.
Learn more about henna’s comeback and cultural evolution on Neuchcup, a hub for modern henna trends and historical insights.
Hands-On Tips: Caring for Your Henna Design to Maximize Its Lifespan
Nurturing your henna art is just as important as designing it. Once your design is ready, keep the paste on your skin for as long as possible — the longer, the better the stain. Overnight application can deepen hues dramatically. Use a lemon juice and sugar mixture dabbed gently onto dried paste to maintain moisture and improve color formation. Avoid rubbing or washing that area during this phase.
When ready to remove, scrape off dried paste rather than washing it away to protect the developing stain. Apply natural oils like coconut or olive oil afterward to nourish your skin and lock in color. Resist the temptation to exfoliate or use harsh soaps which speed fading. Henna typically lasts 1-3 weeks, but careful aftercare can extend this.
Trying different henna brands affects staining too. Top picks like Earth Henna and The Henna Guys provide durable, vibrant pigments that last longer without irritation. Mixing these with premium aftercare dramatically improves visual results and skin health alike.
To read 14 Pose Reference Guides Every Artist Needs
For more in-depth care advice, explore detailed guides such as those at Henna Designs Homes and find easy printable patterns to practice at home at Scretch Printable.
Frequently Asked Questions
How long does a henna design take to develop full color? Typically, the stain deepens within 24 to 48 hours after paste removal. The longer you keep the paste on—ideally 4-6 hours or overnight—the darker and longer-lasting the color will be.
Can I make my own henna paste at home? Yes! Homemade henna paste combines sifted henna powder with lemon juice, sugar, and essential oils. However, it requires precise ingredients and curing time to ensure good consistency and color.
What’s the difference between jagua and traditional henna? Jagua is a plant-based dye yielding a blue-black stain, while traditional henna creates a reddish-brown tint. Both are temporary but differ in application and visual style.
Are there brands recommended for beginners? Absolutely. Kaveri Henna and Minal Beauty Henna are known for fine powder and smooth paste consistency, ideal for novices. The Henna Guys also provide affordable options perfect for regular practice.
How can I fix smudges or mistakes during henna application? Quickly wipe off fresh paste with a damp cloth before it dries. For dried paste mistakes, gently scrape or wait until it fades naturally and try again next time.