Show index Hide index
- 5 Essential Painted Pumpkin Techniques for Vibrant, Long-Lasting Fall Decor
- How to Select Durable Paints and Supplies for Pumpkin Art
- 3 Proven Sealing Techniques to Protect Painted Pumpkins from Weather and Wear
- Simple Steps to Prepare Your Pumpkin Before Painting
- Top 4 Tips to Extend Painted Pumpkin Longevity with Environment and Display
- Creative Painted Pumpkin Ideas to Inspire Your Seasonal Decor
As the crisp air of autumn settles in, painted pumpkins bring a burst of color and personality to fall décor. But how can you keep those vibrant creations looking fresh from early September through late November? Many fall decorators struggle with pumpkins that peel, fade, or rot before the season’s end. The secret lies not just in the painting but in the preservation techniques used afterward. From the choice of paint brands like Krylon and Rust-Oleum to clever sealing tips, these methods ensure your painted pumpkins stay stunning for weeks. Whether you’re crafting elegant designs with DecoArt or bold patterns using Sharpie, mastering the art of long-lasting pumpkin decoration elevates your seasonal display. Explore these expert strategies perfect for anyone eager to enjoy their festive gourds all season long, making every porch and mantle a reflection of autumn’s beauty.
5 Essential Painted Pumpkin Techniques for Vibrant, Long-Lasting Fall Decor
Keeping your painted pumpkins bright and fresh throughout the season requires more than just creative paintwork. It’s about selecting the right materials and applying protective measures that hold up against weather and wear. The trick nobody knows is to combine smart paint choices with layered sealants for durability.
- 🎨 Choose the Right Paint: High-quality acrylic paints like Apple Barrel or Arteza provide rich pigments that bond well with pumpkin surfaces. For glossy finishes, brands like Plaid or FolkArt come highly recommended.
- 💨 Apply Multiple Paint Layers: Thin, even coats of paint ensure better adhesion and prevent cracking. Wait at least an hour between coats for full drying.
- 🛡️ Seal with Clear Spray Enamel: Using products like Rust-Oleum Clear Gloss Spray or a Krylon clear coat protects your design from rain and fading. Two to three coats are ideal for resilience.
- 🌬️ Work in a Ventilated Space: Spray enamels contain strong solvents, so painting outdoors or in a well-ventilated area is crucial for health and finish quality.
- 🔍 Inspect & Touch Up Weekly: Check your pumpkins for chips or fading and apply touch-up coats or sealant as needed to maintain a fresh appearance.
By juggling these factors, your pumpkins will withstand the elements while glowing with rich colors far longer than typical autumn décor. For inspiration on fun painted pumpkin ideas, check out this curated gallery of stunning pumpkin paintings.
How to Select Durable Paints and Supplies for Pumpkin Art
The foundation of lasting painted pumpkins begins with the paints and tools chosen. Acrylic paints are excellent because they dry quickly and resist water once sealed. Brands well-loved by DIYers include Apple Barrel for affordability and Arteza for vibrant colors. For detailed work, Sharpie markers come in handy, allowing intricate designs with lasting lines.
Complement your paint with quality brushes and foam applicators to apply smooth coats without streaks. A light sanding of the pumpkin’s surface beforehand can also help paint adhere better. Brands like DecoArt and Plaid offer pumpkin painting kits designed for durability and ease of use, which are widely recommended by experts like Martha Stewart. For a professional look, applying a Mod Podge topcoat adds another shield against scrapes and moisture.
With the right supplies, you’ll enjoy an easier painting experience and a more durable final product. Dive into specific brand reviews and recommendations by visiting this detailed guide on preserving painted pumpkins.
To read Christmas Crafts That Sell at Holiday Markets
3 Proven Sealing Techniques to Protect Painted Pumpkins from Weather and Wear
Paint alone doesn’t guarantee longevity. A strong sealant layer protects paintwork from moisture, UV rays, and abrasion. Here are three trusted methods:
- 💧Clear Spray Enamel: Rust-Oleum and Krylon clear enamel sprays form a solid waterproof barrier. Apply coats evenly using steady, sweeping motions from about 12 inches away. Let dry fully before repositioning pumpkins.
- 🕯Mod Podge Outdoor Sealer: This brush-on sealer is perfect for detailed patterns. It’s effective against light rain and dirt and dries matte or glossy, depending on your preference.
- 🌿Polyurethane Spray: For extra tough protection, especially on pumpkins placed in exposed areas, a thin layer of outdoor-suitable polyurethane spray will lock in colors without yellowing.
For best results, seal your pumpkin on dry, cool days. Avoid applying sealants directly in sunlight to prevent bubbling. Many crafters swear by the Rust-Oleum clear gloss finish for adding that showroom shine that lasts. Detailed sealing tutorials and tips for application are available at this expert preservation resource.
Simple Steps to Prepare Your Pumpkin Before Painting
Behind every show-stopping painted pumpkin is a well-prepped surface. Proper preparation prevents peeling paint and rotting gourd. Follow these steps:
- 🧽 Clean the Pumpkin: Gently wipe the surface with a damp cloth to remove dirt without soaking the skin.
- 🔪 Dry Completely: Ensure the pumpkin is dry inside and out. Moisture invites mold and paint failure.
- 🖌️ Smooth the Surface: Few crafters realize you can lightly sand bumpy areas with fine-grit sandpaper for easier paint application.
- 🔮 Apply a Base Coat: White or pastel acrylic paint base coats brighten your design and help top colors pop.
Preparation is the first step to creating pumpkins that can endure chilly winds and light rain. For further guidance on prepping various pumpkin types, visit Better Homes & Gardens’ preservation tips.
Top 4 Tips to Extend Painted Pumpkin Longevity with Environment and Display
Even with perfect paint and sealant, your pumpkin’s placement impacts lifespan dramatically. Consider these creative yet practical tips:
- 🏠 Store in a Cool, Dry Spot: Direct sun fades paint and heats pumpkins, causing early spoilage. Shaded porches or covered patios keep pumpkins cool and dry.
- ☔ Use Waterproof Bases: Set pumpkins on stone or concrete rather than wood to avoid moisture absorption and paint staining.
- 🦔 Protect From Pests: Squirrels and insects can ruin displays overnight. Applying a scent deterrent or spraying with safe, peppermint-based repellents can help.
- 🕯 Choose LED Lights: Avoid real candles, which dry out carved pumpkins and can discolor paint. Battery-operated LEDs give a safe, long-lasting glow.
By controlling the environment, you make sure the hard work of painting and sealing is not wasted. For more on pest prevention and display ideas, see thisismygarden.com’s detailed article.
Creative Painted Pumpkin Ideas to Inspire Your Seasonal Decor
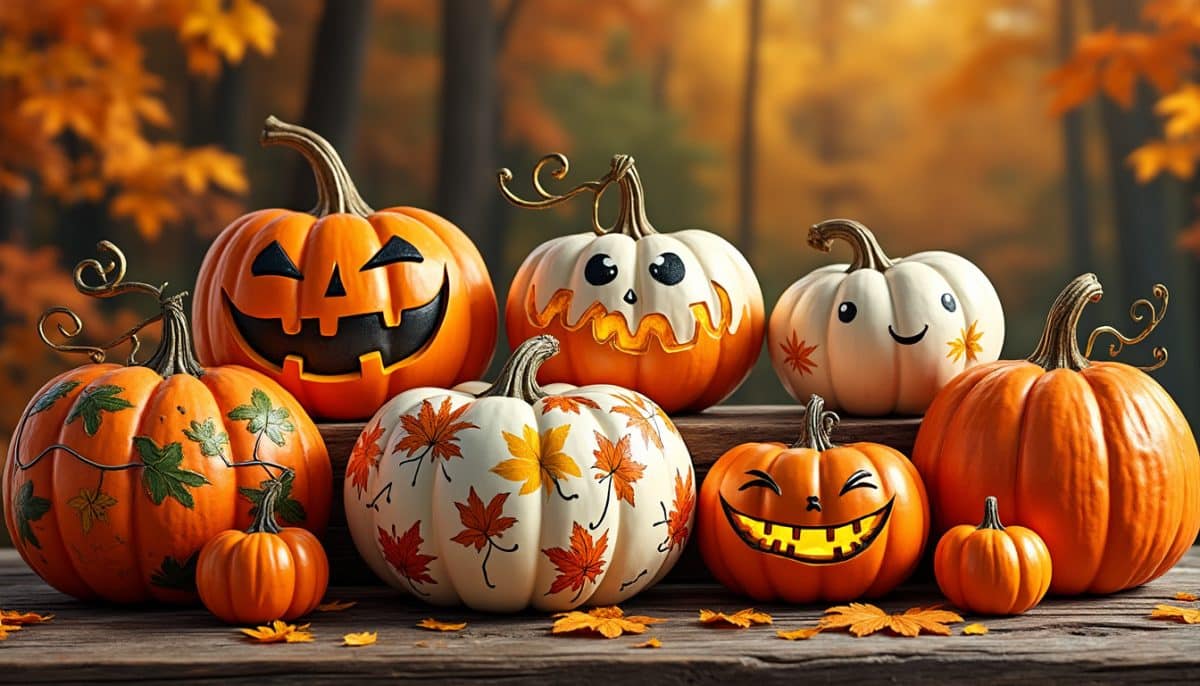
Inject personality into your autumn with these clever painted pumpkin styles:
To read Decorative Halloween Windsocks
- ✨ Metallic Magic: Use Arteza metallic acrylic paints to give pumpkins a chic, shimmering finish that complements fall sunsets.
- 👻 Whimsical Characters: Sharpies and fine brushes bring to life fun icons like owls, witches, and friendly ghosts.
- 🌿 Natural Patterns: Combine muted DecoArt earth tones with leaf and vine motifs for rustic charm.
- 🎨 Modern Abstract: Bold blocks of Apple Barrel color create an eye-catching statement pumpkin.
- 🕯 Glow in the Dark: Special glow paint layers make your pumpkins sparkle after dusk.
Combine these ideas with the sealing tips above, and you’ll have captivating, durable décor. Check out more DIY pumpkin painting inspiration at neuchcup.ch’s DIY pumpkin gallery.