Show index Hide index
Is your workshop overflowing with tools, materials, and miscellaneous clutter? When every minute counts, an organized space not only boosts productivity but also makes work more enjoyable. These 6 quick and budget-friendly workshop organization hacks are designed to help homeowners and DIY enthusiasts reclaim their workspace without breaking the bank or pulling all-nighters. By using simple materials from stores like The Home Depot or IKEA, and tools such as a drill and level, these strategies cater to all skill levels and garage sizes. From repurposing old cabinets to smart pegboard systems, each hack offers practical benefits that will save you time and maximize your workshop’s potential this weekend. Whether you’re a beginner or a seasoned DIYer, these ideas deliver instant declutter results and space efficiency that last.
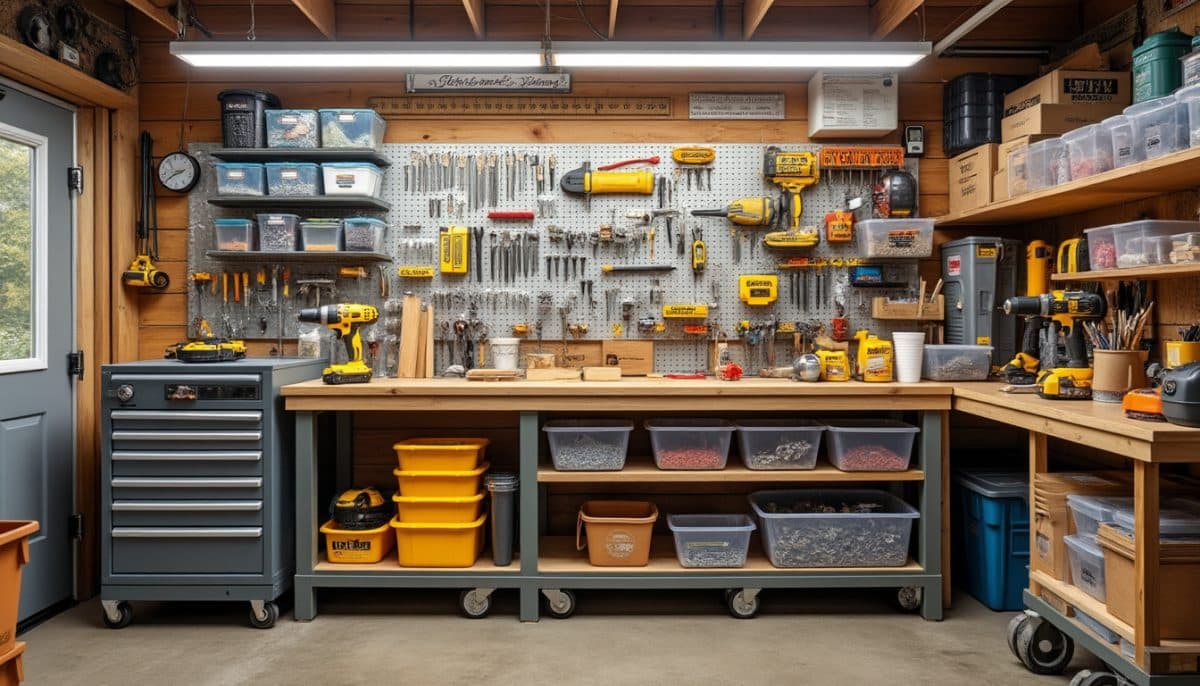
Maximize Your Workshop with Easy DIY Pegboard Systems
A pegboard is a true game-changer in workshop storage. Its modular hook system keeps tools visible and accessible, turning your chaotic wall into an efficient tool station. Using Wall Control or simple pegboards from ClosetMaid, you can create a customizable setup.
Time: Prep 1 hour | Install 1 hour | Total 2 hours
Cost: Under $50 | Skill: Beginner
Materials: Pegboard panel, furring strips, assorted hooks
Tools required: Drill, level, screwdriver
- Install furring strips for clearance behind the pegboard.
- Mount the pegboard securely ensuring it’s level for easy hook fitting.
- Arrange hooks by tool type for quick identification.
Tip: Use specialty hooks for items like hammers or screwdrivers. Weight capacity depends on hook type but standard hooks support up to 15 lbs easily. Adapt size by cutting pegboards to fit your wall space.
Pin for your garage makeover! These pegboards from HI-SPEC highlight the power of vertical workshop storage.
Comfort & Padding: Stand Longer, Work Smarter
Long hours on hard concrete or plywood floors can drain your energy fast. Simple padding solutions like repurposed carpet padding or affordable rubber mats from Rubbermaid transform your workspace’s comfort level significantly.
To read 8 DIY Garage Storage That Costs Almost Nothing
Time: Prep 1 hour
Cost: Under $30 | Skill: Beginner
Materials: Carpet padding or ergonomic rubber mats
Tools required: Utility knife, measuring tape
- Cut padding to fit your standing zones.
- Secure padding edges with double-sided tape for safety.
- Choose thicker mats for heavier tool stations to reduce fatigue.
Increasing comfort boosts productivity and your willingness to spend quality time in your workshop. This hack works perfectly for workbench organization ideas.
Repurpose Old Cabinets into Functional Work Surfaces
Old kitchen cabinets aren’t just trash—they’re treasures waiting to serve a second life in your workshop. Adding a durable top like plywood or a countertop from Keter or Gladiator creates an instant workbench that blends storage and workspace.
Time: Prep 2 hours | Assembly 2 hours | Total 4 hours
Cost: Under $100 | Skill: Intermediate
Materials: Used cabinets, plywood or countertop, screws, hinges
Tools required: Drill, screwdriver, level
- Inspect cabinets for sturdiness; replace damaged parts if necessary.
- Secure the countertop and add doors or drawers for tools.
- Position workbench close to power outlets for easy access.
This project maximizes hidden storage, reducing clutter substantially. It’s a perfect weekend project for those who want durable and versatile storage.
Simple DIY Bench Hook for Safer Material Handling
A bench hook is a compact tool to stabilize materials when you can’t use a vice. Craft it quickly with scrap wood and basic tools to improve your cutting accuracy and safety.
Time: Prep 15 min | Build 45 min | Total 1 hour
Cost: Under $20 | Skill: Beginner
Materials: Scrap wood pieces, wood glue, screws
Tools required: Drill, screwdriver, saw
To read DIY Halloween Candy Bar Organization
- Cut base and stop pieces to size according to your bench dimensions.
- Attach stoppers at right angles on the base.
- Sand edges for smooth handling and safety.
Weight capacity depends on wood thickness but holds most standard small materials securely. Make this with woodworking hacks tricks in mind.
Organize & Label Accessories for Instant Clarity
Containers full of parts and accessories can become black holes of lost screws and bits. Allocate bins or boxes, label each clearly, and keep them in reach for speedy workflow. Brands like Stanley and Husky offer rugged storage bins perfect for workshop use.
Time: Prep 1 hour
Cost: Under $40 | Skill: Beginner
Materials: Clear bins, label maker, mounting brackets
Tools required: Drill, level
- Sort accessories by type or frequency of use.
- Label boxes with a label maker for easy spotting.
- Mount bins on walls or shelves near your work zone.
This system saves precious time and keeps your workshop neat. Explore more ideas on garage wall storage solutions to enhance your setup.
Keep Your Battery Tools Charged & Ready
With lithium-ion batteries quickly replacing corded tools, keeping them charged is critical. Set monthly reminders to charge batteries, preventing downtime when the project heats up. Using charging stations from brands like Craftsman ensures neat, accessible power management.
Time: Prep 15 min | Ongoing upkeep
Cost: Free (if using phone reminders)
Skill: Beginner
- Designate a visible charging station.
- Schedule regular battery maintenance checks.
- Use wall-mounted organizers for chargers to keep counters clear.
The convenience of ready-to-go tools speeds up any workshop task and avoids frustrating pauses.
To read 6 DIY Kitchen Storage Solutions Under $25
Discover even more transformative tips in this video walkthrough showcasing clever workshop organization ideas.
For step-by-step projects and expert advice, this Pro Tool Reviews guide is a goldmine of inspiration.